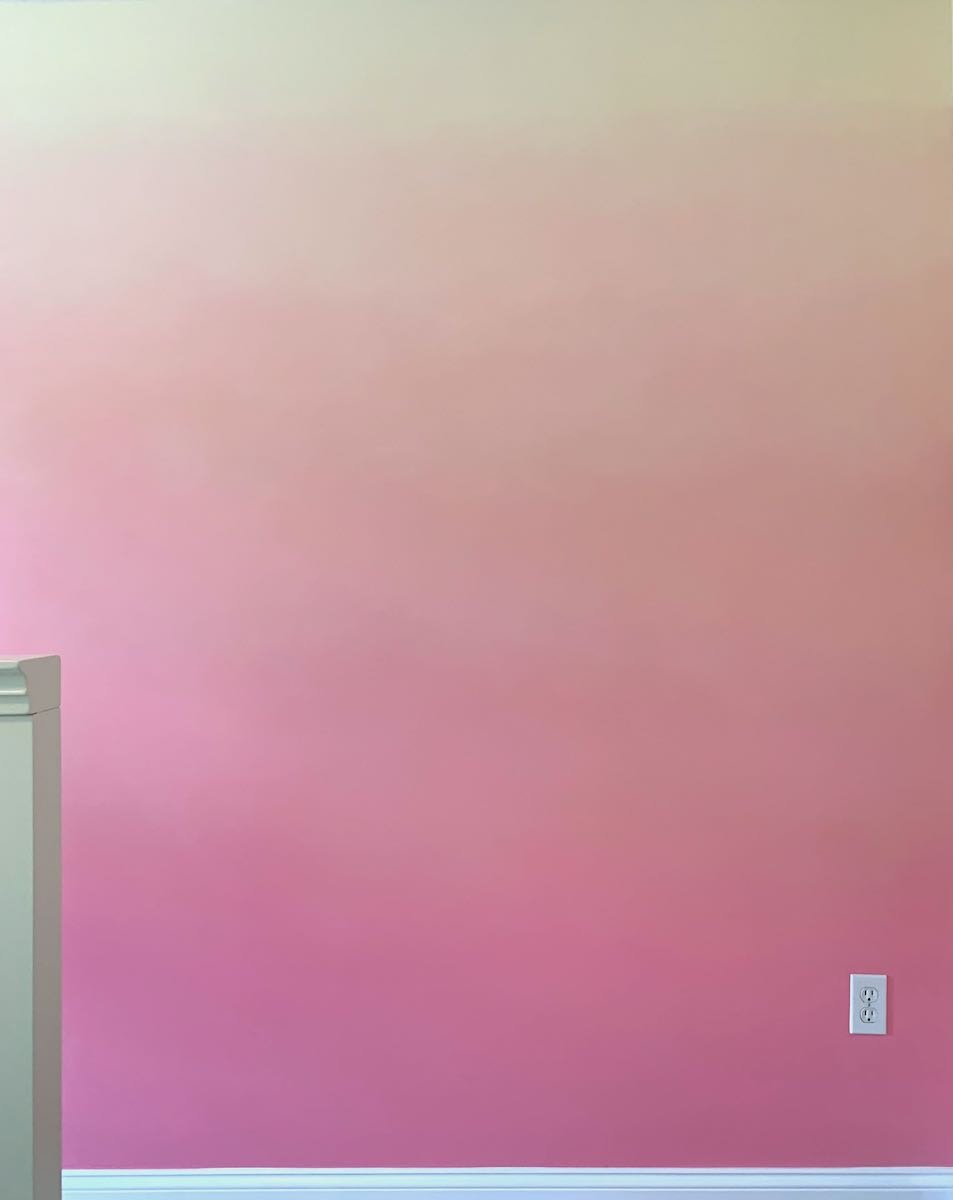
Sometimes a special paint treatment to just one wall can completely change the feel of a room – which was definitely the case with my recent ombre painted wall in a girl’s bedroom!
If you are not aware, an ombre is just a fade between colors – usually dark to light (or vice-versa) in the same color family, but sometimes the fade includes multiple colors. In this case, my client’s 7-year-old daughter wanted a fade from dark to light pink – but with aa additional fade to pale yellow at the top.
As a first step, I met with my client Kim to look at the room and to help pick colors. Kim had decided to use the yellow at the top of the ombre for all of the other walls – so I helped with this choice as well.
With the colors chosen, I was on to the ombre painting! Having painted a number of ombre projects in the past, I was aware of the challenges. The first thing that helps is a number of colors to help with gradual gradation (the colors need to be close to each other so there is not a big jump from dark to light). In this case, I mixed 7 different colors to gradate up the 8 foot-high wall. From there, I planned the measurements for each color and began the painting and blending. Even with blending the colors while wet (for each of 2 coats), the blend can look striped rather than a smooth blend – so I have developed a few techniques that I do on top of the first 2 coats to make the blend as soft as possible.
In the end, Kim and her daughter were thrilled with the result!
Enjoy!!
Jason


