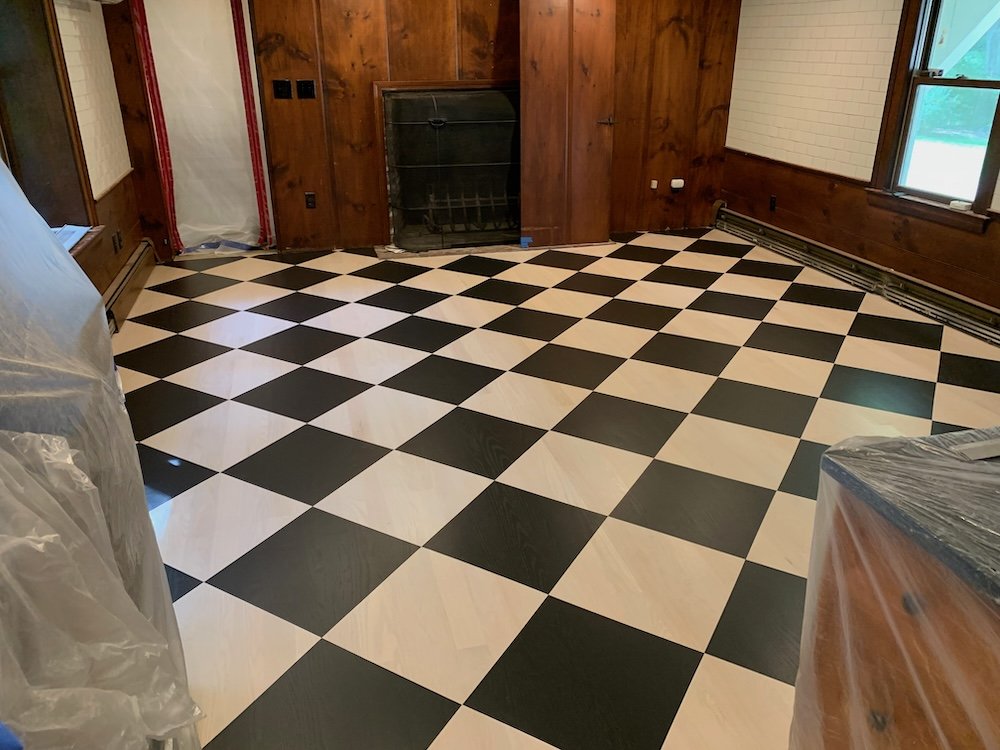
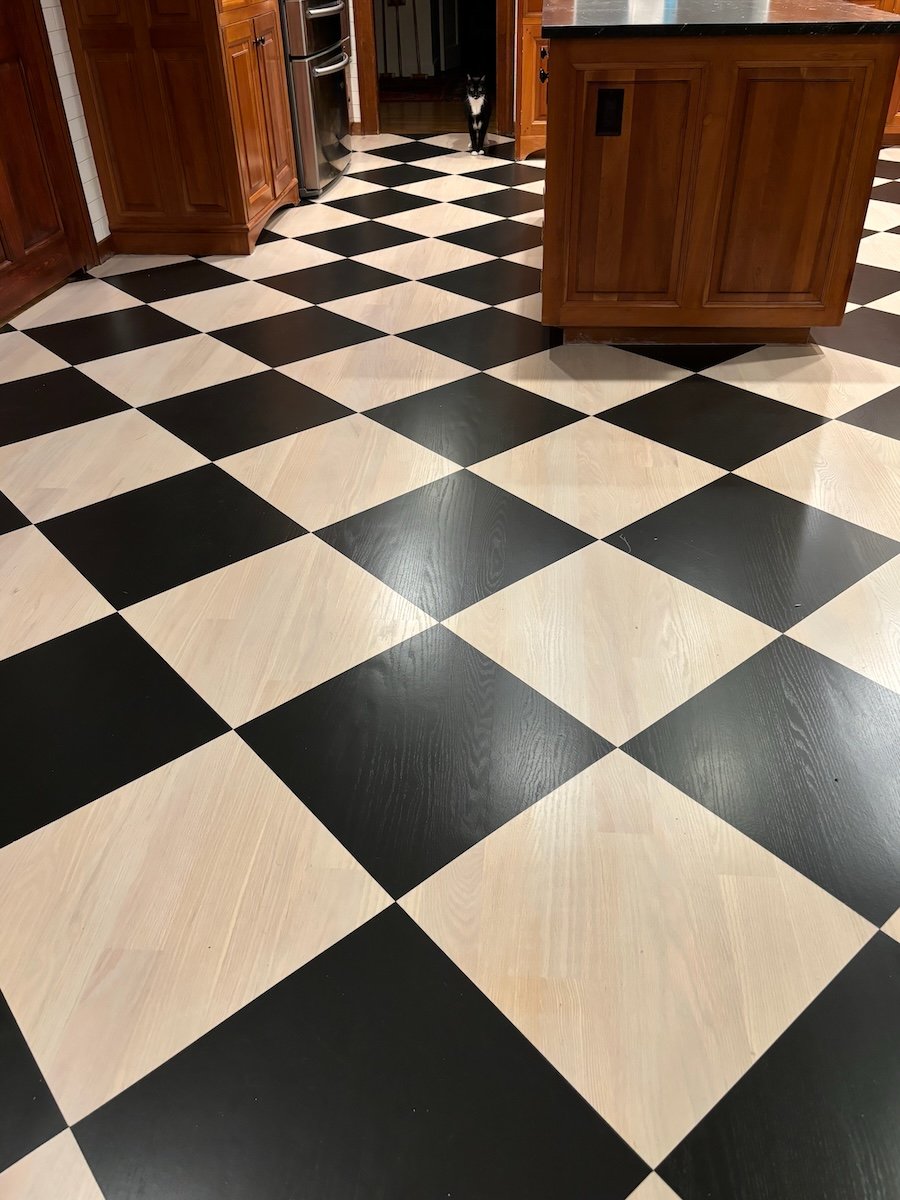
As with many home projects, the success of a good specialty finish often hinges on the planning – which is rarely as true is it is with patterned floors! This recent diamond patterned checkerboard floor we did in Sudbury is a great example.
My client Tracy originally had a similar diamond floor that unfortunately was damaged by a water leak from the bathroom above their kitchen. The damage necessitated a brand-new floor be installed (!) – so we were starting from scratch with this finish. Tracy wanted a “black and white” look – so the first step was for her floor company to stain the new, raw wood a white color. With this step done – we were on to the pattern!
When I first visited Tracy’s house, I took a number of measurements to help with the planning. We knew they wanted each diamond to be 18”x18” – so I cut a number of templates to lay out before getting started. Since the fireplace was off-center, I decided to center my black diamonds with the room and the kitchen island – which also had the diamond corners landing directly on the radiators on both sides. Using this template, I got approval from Tracy on the pattern – and we were on to (a lot) of measuring and taping!!!
Setting down templates to show layout
Unfortunately, I forgot to take pictures of the measurement/taping step – but that is where the magic really happens with this pattern! We took special care to keep the pattern consistent, the diamonds touching and the tape pressed VERY firmly to the floor.
This client wanted the diamonds to be solid black – so we used 2 coats of porch and floor paint. With the paint dry, we could pull the massive amount of tape to reveal the final product!!
Fireplace view before final poly
Island view before final poly
Once our paint was dry enough, the floor company came back to put coats of poly over the entire floor to seal everything and keep it looking great for many years to come!
Enjoy!!
Jason
The final result (with special guest!)


